How to Unblur a Photo or Image in 2024 ? Top 8 Easy Methods
Last Updated on: November 20, 2023 by Diksha Dutt | Fact Checked
Affiliate disclosure: In full transparency – some of the links on our website are affiliate links, if you use them to make a purchase we will earn a commission at no additional cost for you (none whatsoever!).
Let us explain to you how to unblur a photo or image for free and easily. Let’s start with the topic immediately.
Many amateur photographers struggle with fuzzy images.
Understanding how to unblur an image could be quite useful, even if you are snapping photos in a rush or you have spotted a picture on the internet that’s too grainy.
It happens to everyone: you capture a fantastic picture of your child doing something joyful or the excellent product picture for your eBay advertisement, and whenever you go back to look at it afterwards, it’s all fuzzy!
If you discover it right away, it isn’t a big concern since you can simply take another image.
But what if checking took longer than expected but there was no chance to recreate the shot?
Sometimes you really get one shot at capturing the ideal shot. This can be annoying to miss out on an opportunity.
Continue reading to learn how to use several methods and tools to unblur an image.
Content Outline
How to Unblur a Photo or Image? Top 8 Methods to Edit Blurry Pictures
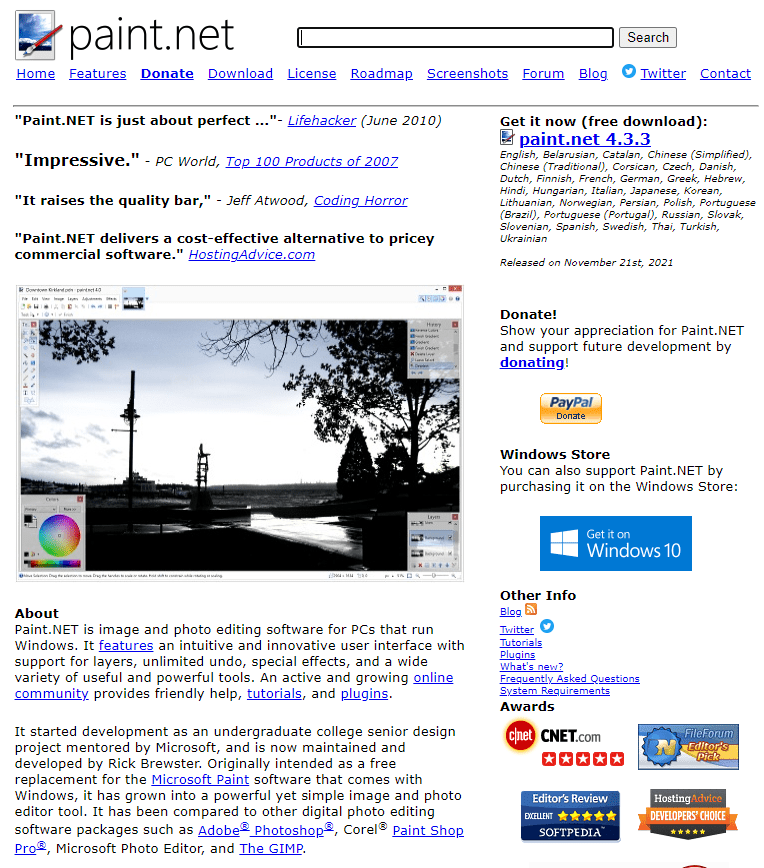
You can also use a number of online services and applications on unblur a photo , such as Microsoft, Photoshop, GIMP, Paint.net, and some online tools.
Let’s take a closer look at the available options and how to unblur a photo or image.
Note: Before you begin, create a backup copy of the images file you will be working on, regardless of the software you use! You would not want to create something which is much worse than the initial.
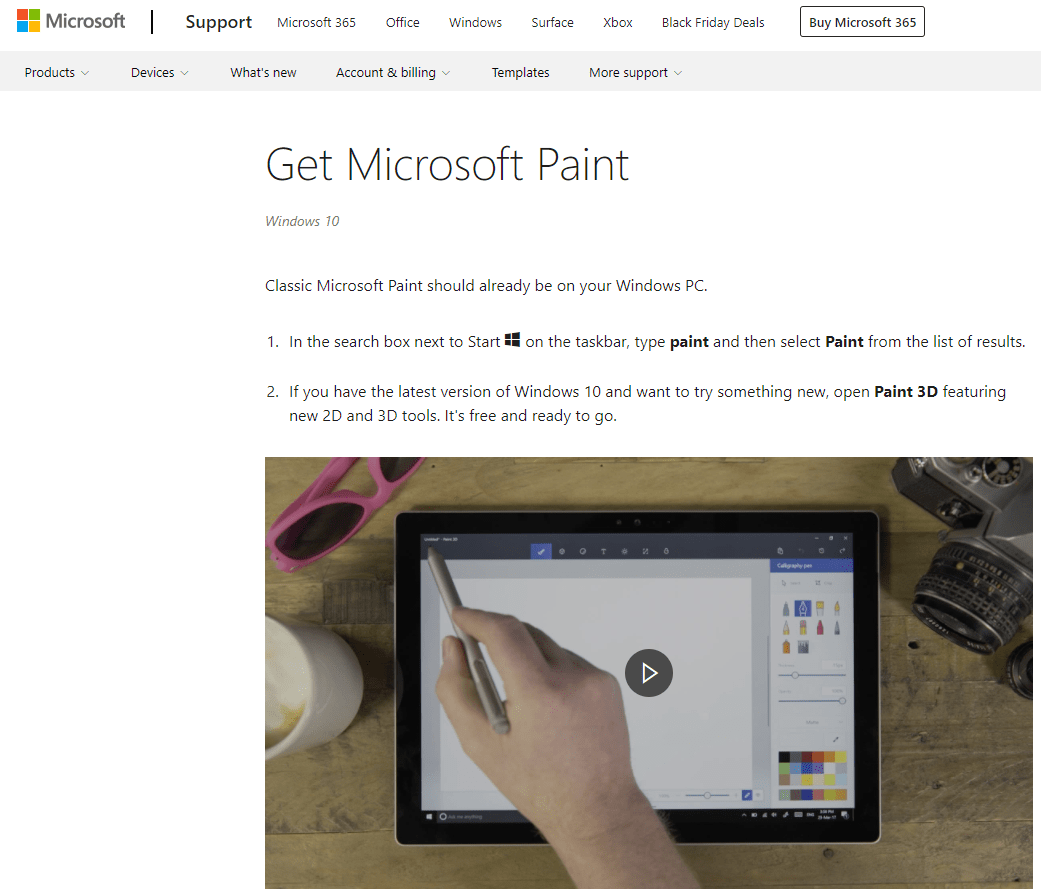
Method 1 : Unblur Using Microsoft Paint
In Microsoft Paint, a graphical drawing application, the “Unsharp Mask” tool lets you sharpen or “unblur” a picture in a simple manner.
Microsoft Paint is a programme that comes standard with the Windows operating system.
Go to the Paint and open it by clicking on the “Windows” tab. View your files by pressing the “Ctrl + o” buttons simultaneously. To open a picture in the software, double – click on it.
To make a layer to use with the “layer” mask, select the “Layer” and “Duplicate” tabs on the display. Then select “Adjust” from the drop – down menu. This will bring up the settings dialogue box.
Based on how much emphasis you would like to give to the image, modify the mask’s “clipping,” “radius,” as well as it’s “strength.” Based on the quality & image size you are unblurring, the options in this menu will change.
The dialogue box will assist you in determining the proper settings. Set the radius to 2 to 3 pixels as well as the strength to 100. Clipping should be set to 10. Modify all of the settings until you are happy with the outcome. To save your changes, click on the “OK” option.
On the “Unsharp Mask” element, alter the opacity using the slider bar. Customize the sharpness of the image till it is as sharp as you want it. The optimal opacity is generally between 60 and 70%. To create the final picture, select “layer selection,” “Merge,” and “Merge All Flatten.”
Method 2: Unblur Using Photoshop
Our images don’t always turn out the way we want them to.
Fortunately, Adobe Photoshop lets you enhance your photographs according to your needs.
Although the outcomes would not be as great as an initial sharp picture, they will be far superior to what you began with.
We will look at the three alternative approaches to sharpen an image in Photoshop in this article.
To unblur pictures, you could use a variety of tools in Photoshop.
There are three most common methods for making a blurred image more sharper.
Using Unsharp Mask
With Photoshop’s Unsharp Mask function, you may simply unblur an image.
Follow these simple steps here to get initiated:
Choose File > Open in Photoshop to view your photo.
On the right side of the display, go to the Layers panel. If you do n’t get the panel, go to Window > Layers to bring it up.
Unblur the image by right – clicking on the layer that includes it. Then select Convert to Smart Object from the drop-down menu.
Select Filter > Sharpen > Unsharp Mask from the drop – down menu.
In the new window that pops up, you have three options you can adjust:
Amount slider: It allows the user to change the sharpening effect’s intensity.
Radius slider: The radius slider lets you adjust the sharpness effect’s width.
Threshold slider: The threshold slider allows you to adjust the overall sharpness of the image.
Make absolutely sure the checkbox next to Preview is ticked if you wish to preview the adjustments you are performing in real time.
Simply press OK when you are happy with the results.
Using the Smart Sharpen Tool
The Smart Sharpen tool offers a few more functions that the Unsharp Mask function does not.
Smart Sharpen is often used for focused sharpening, because it helps minimise noise in low – contrast, softer areas.
These are the steps on how to use the Smart Sharpen tool:
Import the blurred picture in Photoshop.
Press on the image layer in the Layers panel, and then click on Ctrl + J in order to duplicate it.
Right – click on the layer that was duplicated, and then select the Convert to Smart Object option.
Click on the Filter, then press on Sharpen and then select Smart Sharpen. A dialogue box will pop up.
Using Smart Sharpen in Photoshop
Ensure that you select Default from the Preset submenu.
Further options for controlling the sharpness of your picture are available here. The Sharpen section has two major options: the Amount value, which affects the sharpness effect’s strength, and also the Radius value, which determines the sharpening effect’s width.
Motion Blur, Lens Blur, and Gaussian Blur can all be turned off as well if you don’t want them in the photo.
Play with the Radius, Tonal Width, and Fade Amount on the Shadow and Highlight panels to fine – tune your image. Then simply press OK when you are happy with the results.
Using the Sharpen Tool
You could also use the Sharpen option to sharpen the image individually in whatever way you want. Just click and drag over the parts you would like to refine with the Sharpen tool (encased below the Blur tool).
You may also alter the brush and sharpness of the Sharpen function using the option at the top of the page.
Let Photoshop do its magic and compare the results.
This alternative handed all of the work to Photoshop. There is no need for user input.
You must be able to see the before and after pictures side – by – side if you already have preview activated.
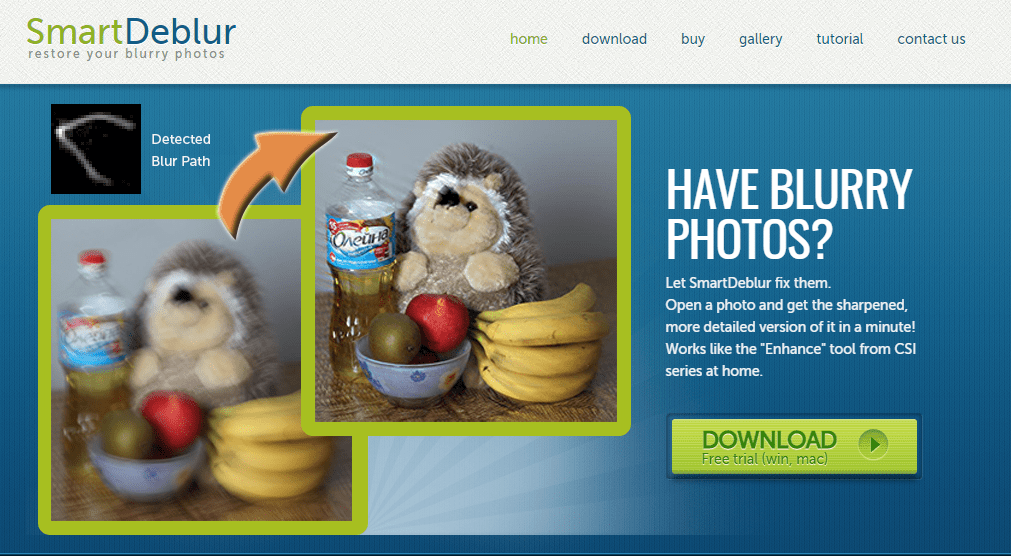
Method 3: Unblur Images With SmartDeblur
Do you have a blurry photo that requires an additional focus?
SmartDeblur is a small approach that allows you to quickly open photos.
Just download and install SmartDeblur from their official website; the most recent releases are accessible for Windows and macOS.
Once the program is launched, you may drag & drop any blurry photo into the program window to recover it.
Once you have got the blurred photograph on the display, go to the Blur Parameters section and modify your blur photo.
Choose the sort of defect (blur), then adjust the radius as well as smooth bars till the image appears acceptable to you.
Method 4: Unblur images using the GIMP Image Editor
You can use the complimentary image editor GIMP if you do not have Photoshop or any other application and do not want to pay for a product.
It’s a fantastic tool that can accomplish a lot of similar things as commercial Photoshop alternatives.
Although it is a bit tricky, GIMP really is a strong image editor that is well worth the hassle.
Here’s about using GIMP to unblur a picture:
Import the image in the software.
Select the Blur or Sharpen option from the Toolbox.
Select the Sharpen option and then drag your cursor over the photo to sharpen it entirely, or if you want to Sharpen a particular portion then, select that part only.
As you choose the parts of the photograph to sharpen, the software automatically does its work. You should be able to see the photo dynamically sharpen as you move your cursor over it.
When you use this application (for Android or iOS), you may easily unblur a large number of pictures with the help of this application.
How Would You Fix A Blurry Photo?
Open Snapseed and drag a blurred image into it.
Select all the details.
Select sharpener and then Unblur.
Select Structure and then Show more details after unblocking.
This program is fantastic since it gives you two alternatives for unblocking an image, and utilizing both of them simultaneously improves the photo’s quality.
The sharpen tool removes the blur, while the composition tool adds structure to the photo.
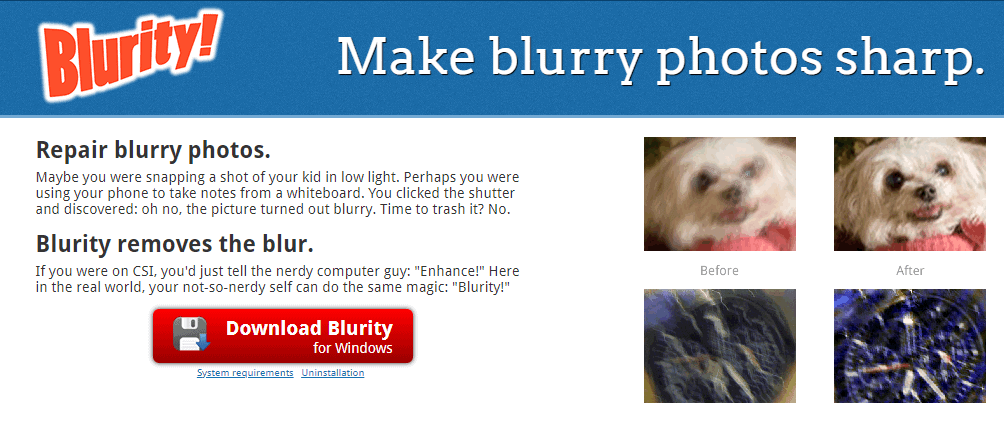
Method 7: Unblur Photos With Blurity
Blurity can reduce motion blurs from the images taken when the camera was moving or shaking, as well as blurring used to focus the camera.
Blurity is available on Windows.
Unblurred photographs, on the other hand, will be watermarked.
So you must purchase the paid subscription to get clear of them. It will cost you at least around $ 79.
You could also use blurity to restore text pictures that have been distorted by accident, such as photographs or notes.
Method 8: How to Fix Blurry Photos Online
Did you also know that there have been a bunch of new internet solutions for correct blurry pictures?
These internet programs will help you if you do not wish to spend money on paid softwares like Photoshop or download GIMP.
Fotor Image Editor
Fotor is a free online image editor which allows you to make a variety of modifications and changes to your photos.
It also has a feature that allows you to unblur your images.
To get through, go to the Basic Modify menu on the left side of the display and then tune the Sharpness slider.
Sharpening tool from Fotor
While quick and easy adjustments such as sharpening are free of cost, you will have to pay for accessing more enhanced features.
You can edit your photo by importing it from your smartphone.
Then under the menu button, you will find the blur option.
The staining intensity could be changed.
In the photograph, you may also use and add a variety of different elements, filters, effects, and stickers.
In fact, you may choose between a variety of collage and style alternatives to fit your Instagram and Facebook photographs.
Overall, Fotor Photo Blur is a comprehensive tool for making your pictures more appealing, and it is absolutely free.
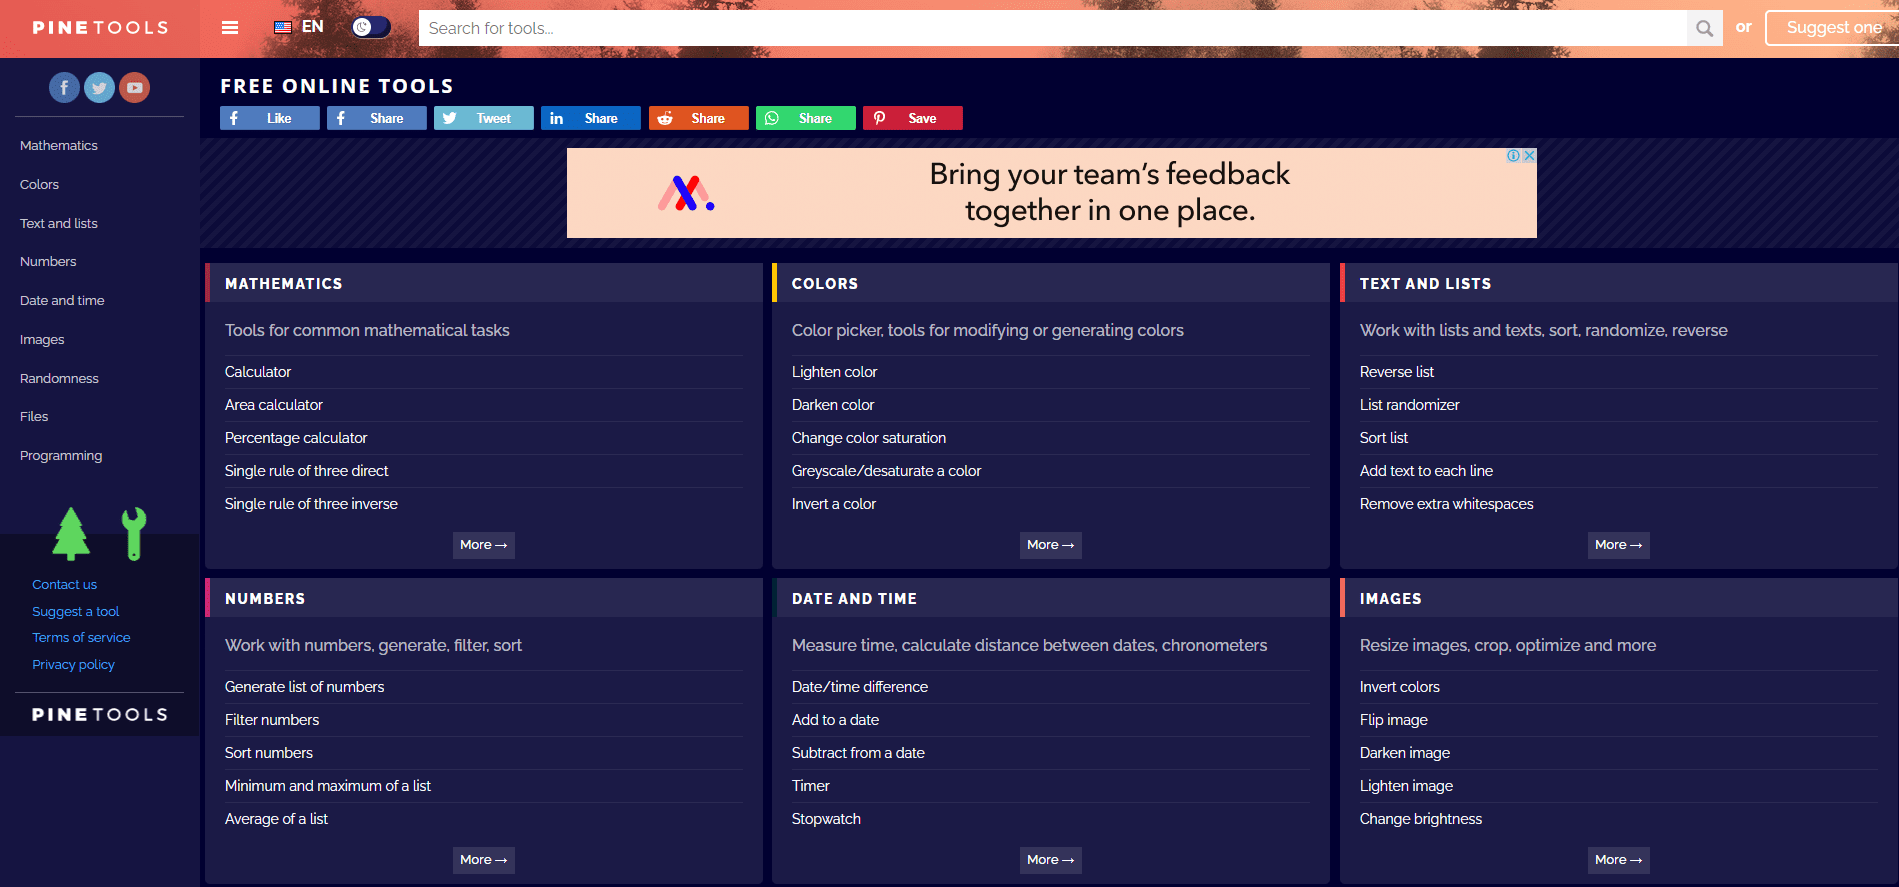
Pine Tools
One of the simplest techniques to unblur photos on the internet is with the help of Pine Tools.
After you have imported your photo, set the sharpening tool’s intensity and then click on Sharpen to view the effects.
PineTools can be used to sharpen photos.
And the best part is that it’s absolutely free!
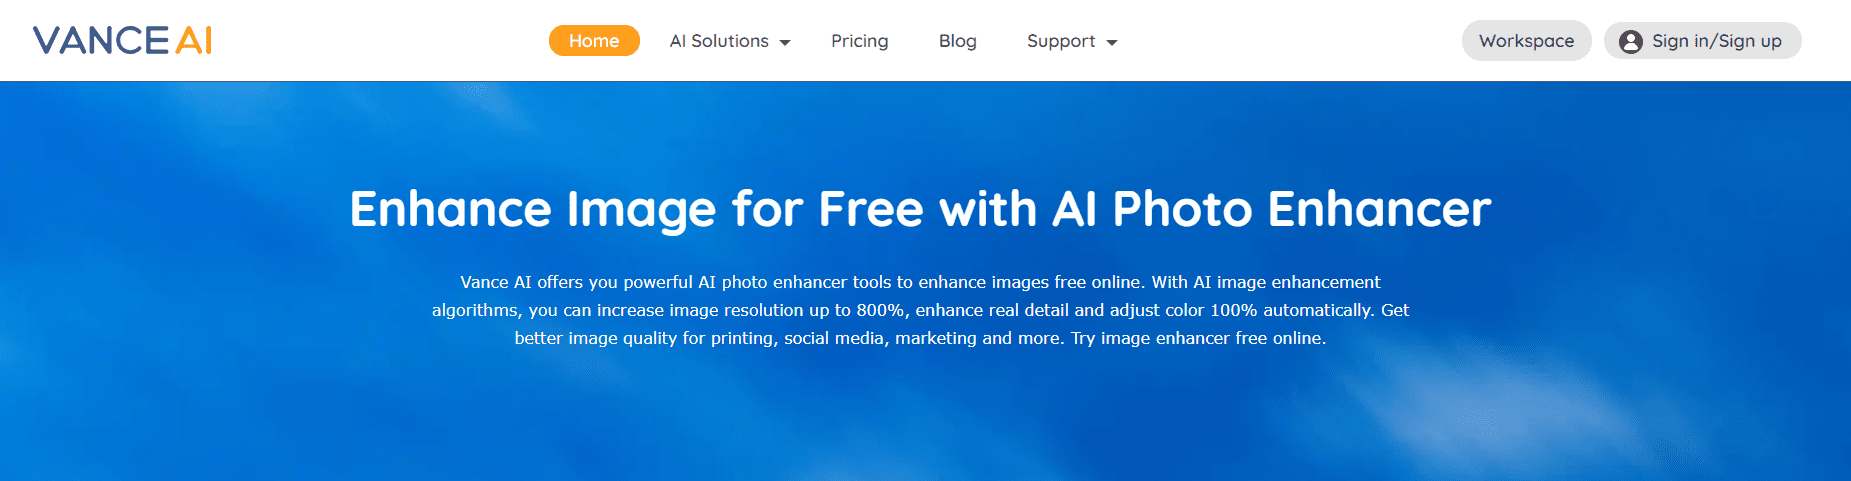
Vance AI
When it comes to unblurring photos, Vance AI excels.
Using AI, this application will sharpen your photo instantly.
Choose AI Solutions and then AI Image Sharpener on the site’s webpage to activate the AI Sharpener.
Just submit your image and after that if you are happy with the outcome, you can save the sharpened image for free.
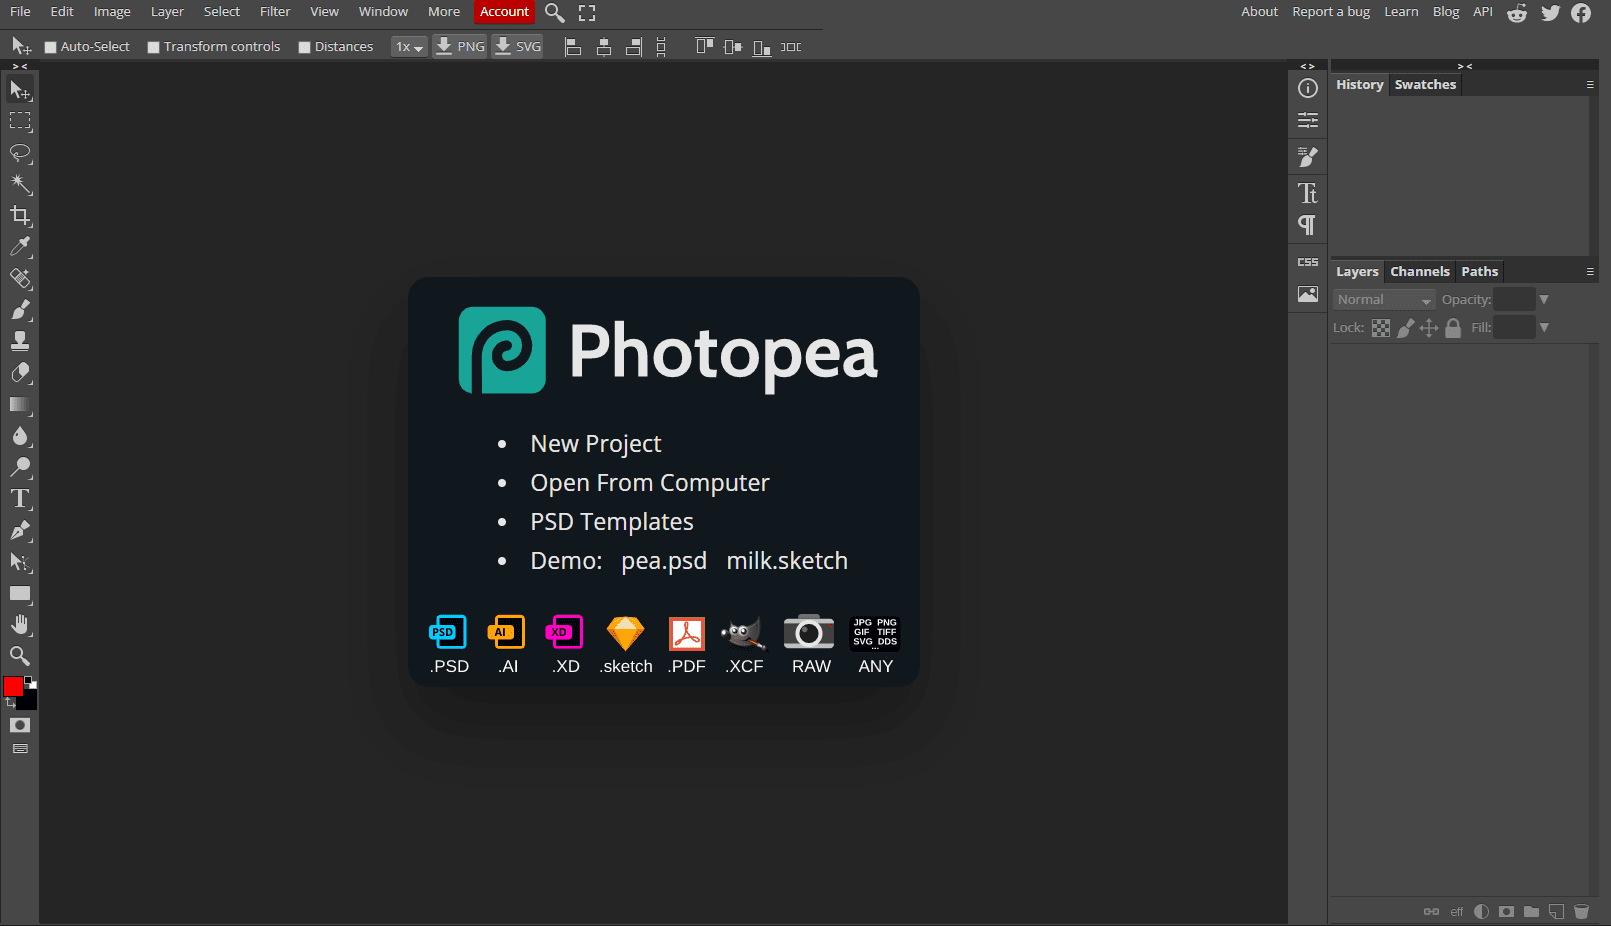
Photopea
Photopea is similar to a scaled – down form of Photoshop available on the internet.
Moreover, when it refers to sharpening an image, it’s excellent.
Simply upload the image, go to the Filters, and look through all of the Sharpen options.
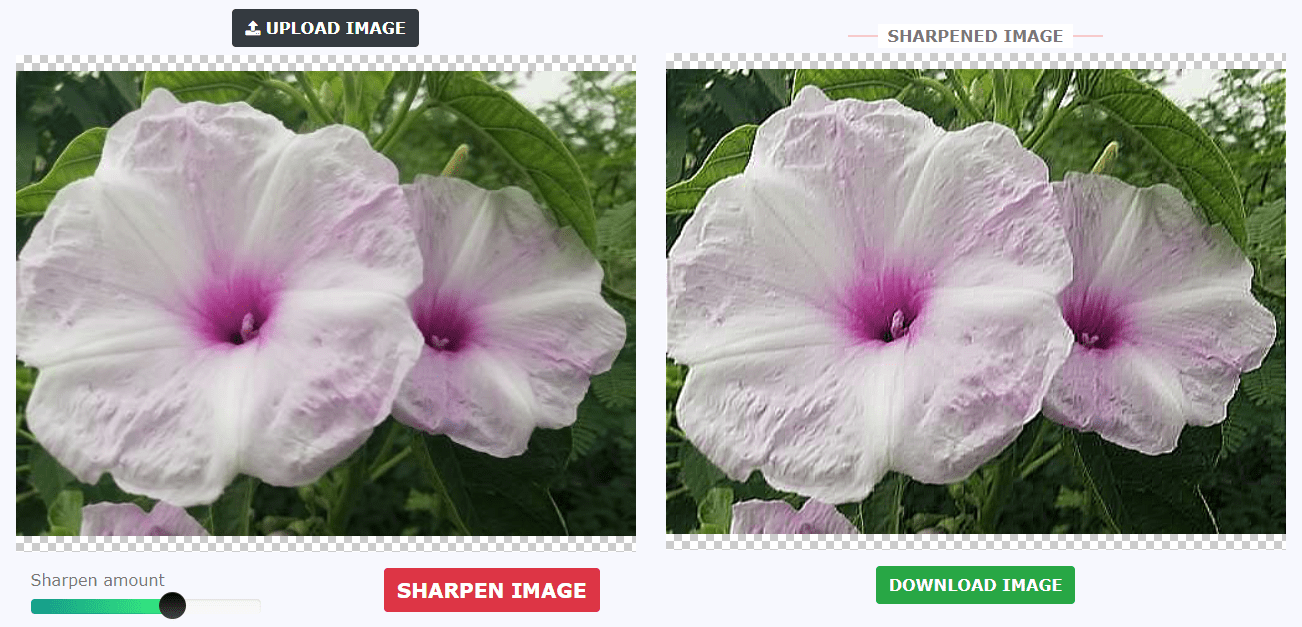
Photosharpen
Photosharpen is a simple web application for sharpening or unblurring photos.
There aren’t many editing tools or filters available.
However, it does exactly what it says, that is, it speeds up the uploading of your images.
What you need to do is just upload the photos and then press the Sharpen button. You can either preview or save the sharpened image after it has been sharpened.
It runs with practically all the internet browsers and thus is compatible with both Windows and Mac. JPEG, GIF, BMP, and other such common formats can be accelerated.
It seems there are a plethora of apps for unblurring photos, however there are a variety of web technologies allowing you to do it for free.
Please understand that Photoshop and GIMP aren’t the only tools that can help you unblur photographs, but they are among the most user-friendly.
These solutions are the finest approach to unblur any photograph because they are rapid and provide immediate results.
It’s terrifying to consider that these techniques could expose content that was purposefully hidden on files for privacy reasons.
Let this serve as a reminder that if you ever want to hide info on a photo, black out or paint it rather than blur it.
These are just a few options for unblurring photos.
With the advancement of technology and the availability of various useful cameras and gadgets, there are many other options for photo editing at your fingertips.
Diksha Dutt
Diksha Garg, is an experienced writer who specializes in writing about web hosting in easier way. She also loves writing about web hosting, graphic design, content management and other stuff. Before she started writing for Affiliatebay, Diksha has spent ten years doing freelance writing, graphic design, and clicking cool photos. She's a web hosting expert and an artist, and she shares her knowledge with people on various forums. Diksha cares a lot about saving the environment, fighting climate change, and making sure everyone is treated fairly. Right now, she's learning even more about journalism and always finding new ways to share her knowledge about web hosting in a simple and friendly way. Connect with Diksha on Linkedin and Instagram